Periodic Boundary Conditions (PBC)
Tutorial 1 - Build a Trans-Polyacetylene Polymer From Ethylene, PBC/1D
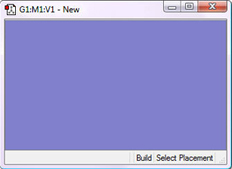
1-1 Create a new molecule and corresponding view window by clicking on the New toolbar button and selecting Create Molecule Group.
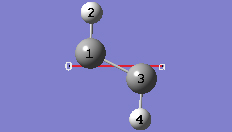
1-3 Click anywhere in the empty view window to create an ethylene molecule.
1-4 Center the molecule in the view window by clicking on the Center toolbar button.
1-5 Turn on atom labels for the view window by checking Labels from the View menu of the main window.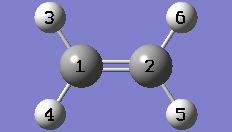
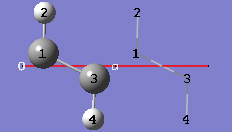
1-8 In the Symmetry tab of the PBC dialog, select One from the Lattice Dimensions drop-down list.
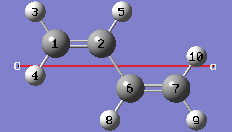
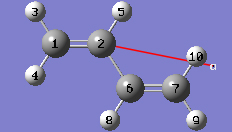
1-10 In the Cell tab of the PBC dialog, select a (1) instead of O (0) to enable placement of the "a" cell vertex at any atom selected in the view window using the mouse. In the view window, click on atom 7.
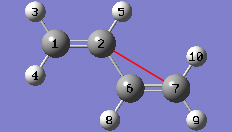
1-11 In the Cell tab of the PBC dialog, select Delete All Atoms Outside Cell from the Trim Contents drop-down list.
1-12 In the Cell tab of the PBC dialog, click on the Center Contents button.
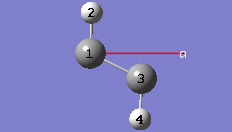
1-13 At this point we have defined a primitive unit cell for a PBC/1D model of trans-polyacetylene polymer.
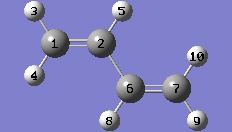
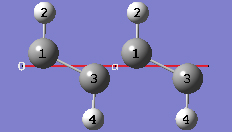
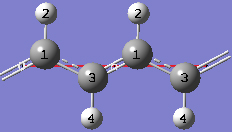
1-14 In the View tab of the PBC dialog, show two cells along the "a" axis by selecting 2 from the corresponding spin box in the Cell Replication section. By default, the contents of replicate cells are shown in Low Layer format.
1-15 In the View tab of the PBC dialog, select Normal from the Replicate Contents Display drop-down list to show the contents of the replicate cells in the same format as the reference unit cell contents.
1-16 In the Contents tab of the PBC dialog, select the Rebond Intercell item from Bonds popup menu to update the bonding between atoms in adjacent cells.
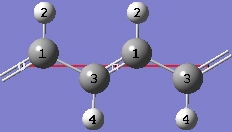
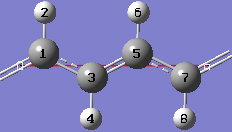
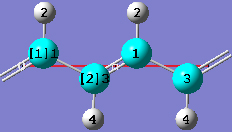
1-17 Both of the unique CC bond lengths are too long in comparison to experiment. Change the intracell bond length between atoms 1 and 3 by clicking on the Modify Bond toolbar button and then clicking on atoms 1 and 3 in the same cell in the view window. In the corresponding Semichem Smartslide dialog, change the bond length value from 1.54 to 1.44 in the input field and then click on the OK button.
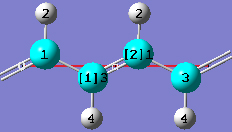
1-18 Change the intercell bond length between atoms 1 and 3 by clicking on the Modify Bond toolbar button and then clicking on atoms 3 and 1 in adjacent cells in the view window. In the corresponding Semichem Smartslide dialog, change the bond length value from 1.38253 to 1.36 in the input field and then click on the OK button.
1-19 In the In the Contents tab of the PBC dialog, select the Rebond All item from the Bonds popup menu to update the bonding between atoms in the same cell as well as in adjacent cells.
1-20 In the View tab of the PBC dialog, click on the Combine button in the Cell Replication section. This will cause the reference unit cell and the replicate unit cell shown on screen to be combined into a larger "supercell" which is twice the primitive unit cell. Note the atom number changes. Note also that the number of cells being viewed is automatically reduced to one.